Submitted by Michael Frankfort, Co-Chair of STAO Elementary Curriculum Committee
Build a Bottle Rocket
Three, two, one … blast off!
ONTARIO SCIENCE CENTRE
Please click HERE for access to the full resource.
What you’ll need:
- Adult assistance
- Outdoor space
- A large empty plastic bottle, such as a recycled 1-litre or 2-litre pop bottle
- A cork or rubber stopper that fits snugly into the pop bottle opening
- Protective gloves and safety goggles
- A bike pump with a hose and pump needle
- A drill and drill bit around the same size as the pump needle, or pliers and a nail with the same diameter as the pump needle
- Thick cardboard, such as a corrugated recycled box
- Thin cardboard, such as a lighter recycled box (or card stock)
- Scissors
- Duct tape
- Water
- 2 large foam blocks around 10 cm thick (or thicker), 2 wooden blocks or 2 bricks
Activity setup:
- Find an outdoor space with lots of room to complete this activity. You’ll need a flat, open area with nothing overhead. Do not try this activity indoors!
- Insert your cork or rubber stopper (the plug) into the top of your plastic bottle to make sure it’s a tight fit. If it isn’t a snug fit, find another material to use as a plug. Alternatively, line your existing plug with duct tape to make it larger. Once you’re done, remove the plug from the bottle.
- Safety first! Put on protective gloves and safety glasses before moving on to the next step.
- With adult assistance, drill a hole through the centre of the plug. The hole should go from top to bottom. If you do not have a drill with a drill bit the same size as your pump needle, create the hole using pliers and a nail instead.
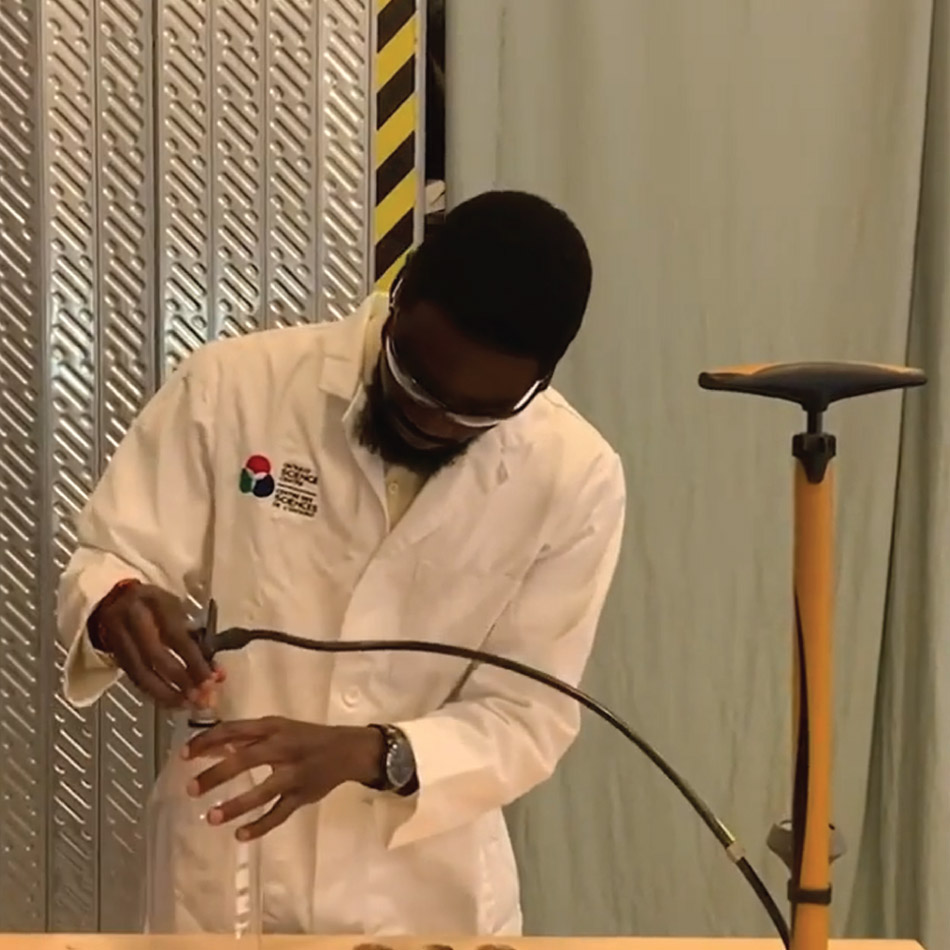
- Push your pump needle through the hole until it is secure. To test this, add some water to the bottle, reseal it with the plug (with the needle still in place) and flip the bottle upside down. No water should leak from the plug or the pump needle. If it does, try adding some duct tape to the plug to create a tighter seal.
- Leaving the pump needle in place, remove the plug from the bottle and attach the needle to the bicycle pump hose.
- Cut a piece of thick cardboard into three or four triangles of equal size to create fins for your rocket, or use a different shape for your fins.
- Cover the fins in duct tape to help minimize water damage.
- Tape the fins to the flat part of the bottle closest to the nozzle. The top of the bottle will act as the bottom of your rocket, so position the flat edges of your fins downward to support the bottle when it stands upside down.
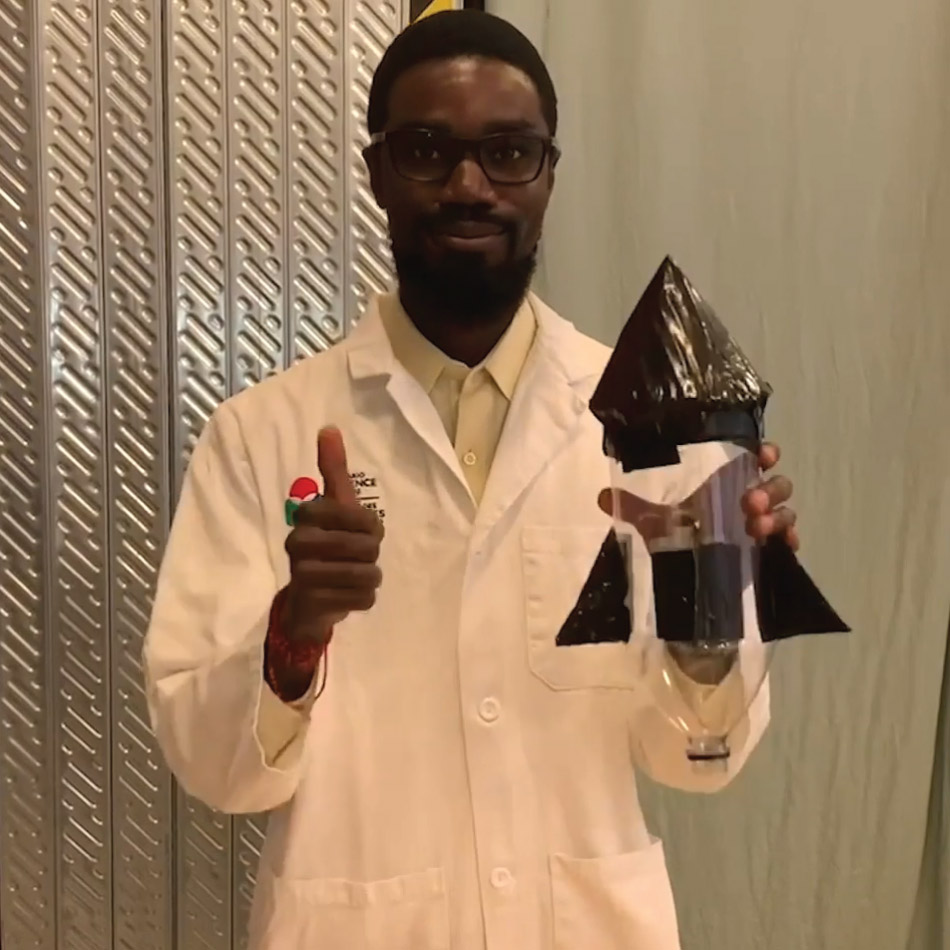
- Cut a piece of thin cardboard or card stock and tape it into a cone to act as the nose of the bottle rocket.
- Attach the cone nose to the bottom of the bottle, which is the top of your rocket. Your bottle rocket is complete!
- Use your foam blocks, wooden blocks or bricks to create a launch pad for your rocket. Place the blocks side by side on the ground, leaving a 3-4 cm gap between them where the bottle nozzle will sit.
- Add water to your bottle rocket until it is about 40% full.
- Reinsert the plug into the bottle rocket and make sure there is a tight seal around the nozzle so that no water leaks out. Add duct tape if needed to create a tighter seal.
- Stand as far from the rocket as you can while you pump air into the bottle using the bicycle pump. Once the cork can no longer withstand the buildup of pressure inside the bottle rocket, it will pop out and the rocket will be propelled into the air! Safety First! Once you start pumping, do not approach the rocket.
- Make observations and record your data.
Things to consider:
- You might get wet doing this experiment. To minimize this, launch the bottle rocket without water or attach a longer hose to the bicycle pump so that you can stand farther from the launch site.
- Once the rocket launches, it will propel high into the sky. To get a good look at the height, ask an onlooker to stand in a shaded area where the sun won’t block their view.
- To turn this activity into an experiment, create several different bottle rockets with different fins, nose cone shapes and sizes to test how far each one launches. You can also adjust the amount of water you use in the bottle. Don’t forget to record your observations!
How does it work?
The motion of the bottle rocket illustrates Newton’s three laws of motion:
- The first law states that an object will remain at rest unless an unbalanced force acts upon it. In this case, the bottle rocket remains at rest on the launch pad until the force from the bicycle pump acts upon it.
- The second law illustrates the relationship between force, acceleration and mass. The amount of force pushing the rocket upwards depends on the volume of air pumped into the rocket. Adding a little more water increases the mass of the rocket, which then increases the action force applied as the water is expelled by the air being pumped into the rocket. This causes the rocket to accelerate upwards faster.
- The third law states that for every action, there is an equal and opposite reaction. The action force created by the water and air being expelled downwards out of the bottle causes the reaction of the bottle being pushed upwards.
The four forces of flight are also acting upon the upward motion of the bottle rocket:
- Drag acts in the opposite direction of motion due to air resistance;
- Lift acts perpendicular to the direction of motion, helping to maintain stability and control the direction of flight;
- Thrust acts in the direction of motion pushing the rocket upwards; and
- Weight acts downward due to gravity.